To host Odoo on Hostinger, start with a KVM VPS running Ubuntu and either use Hostinger’s preconfigured Odoo template for a quick, no‑code setup or manually install Odoo with PostgreSQL and its dependencies over SSH for full control; then point your domain to the VPS in Hostinger DNS, place Nginx in front of Odoo as a reverse proxy, and enable Let’s Encrypt SSL so your instance runs securely over HTTPS.
This guide walks you through how to host Odoo on Hostinger VPS.
There is a quick, template‑based method for beginners and a full manual installation for developers who need more control.
Odoo Quick Install on VPS
This method is ideal for non‑technical users or quick rollouts because Odoo comes pre‑installed on a KVM VPS.
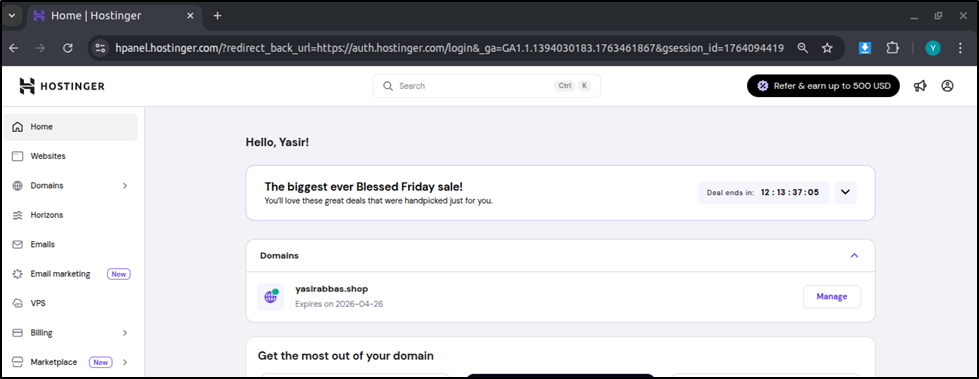
- Log in to https://hpanel.hostinger.com/
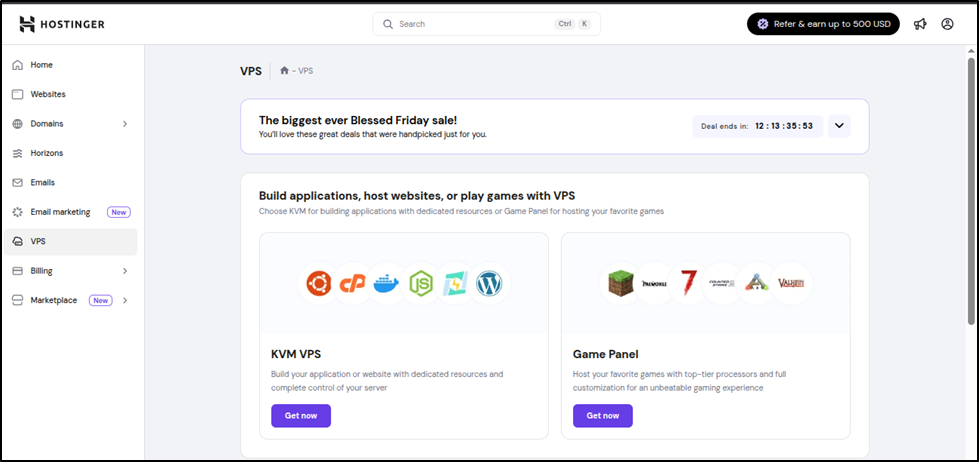
- In the sidebar, click VPS and select your KVM VPS.
Make sure you choose a KVM VPS, not a Game Panel VPS, because Odoo can only be installed on KVM.
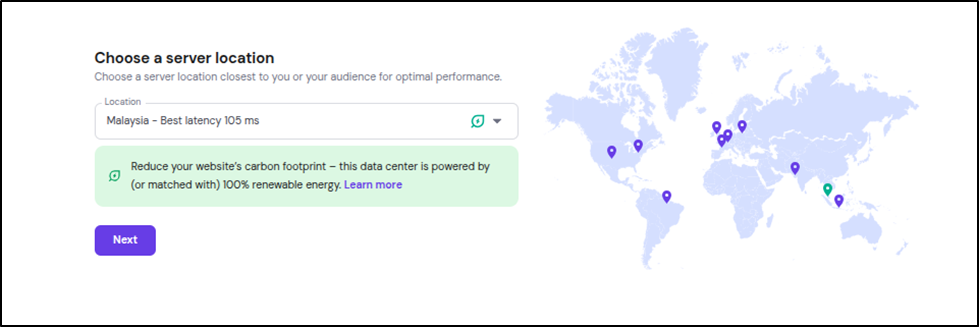
- Choose a Server Location Close to Your Region
Select the server location that is closest to your geographical area for better performance.
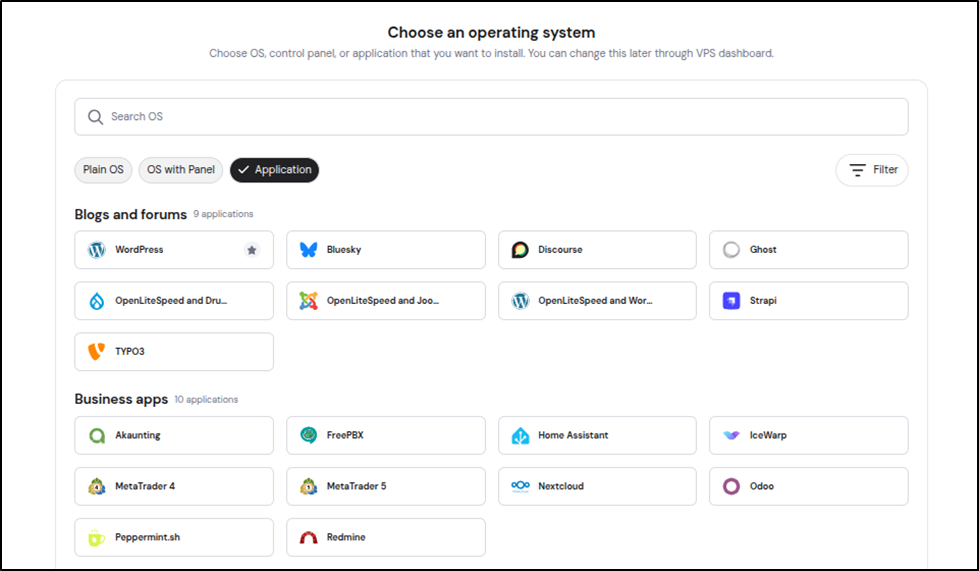
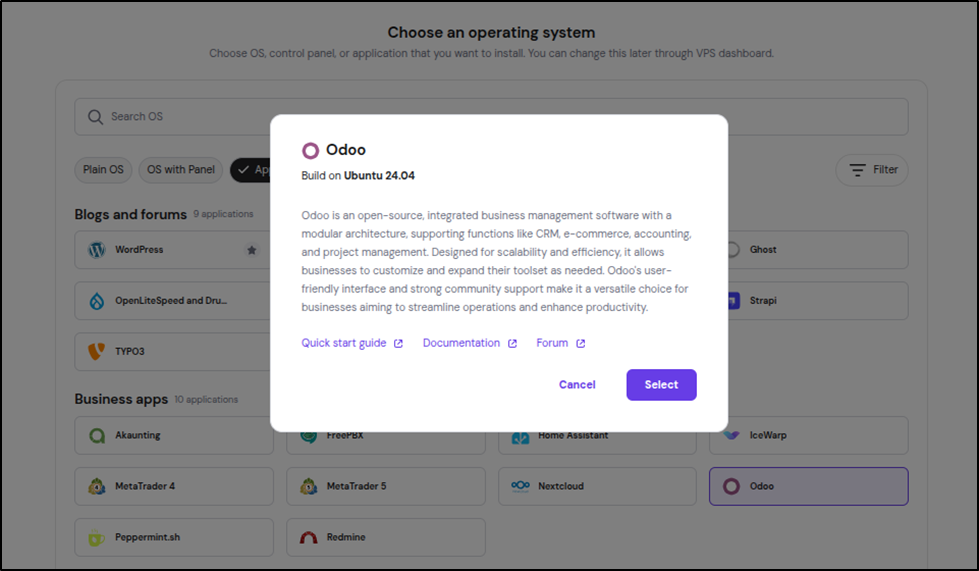
- Under Operating System → Applications, select the Odoo Template (Ubuntu 22.04 + Odoo pre‑installed).
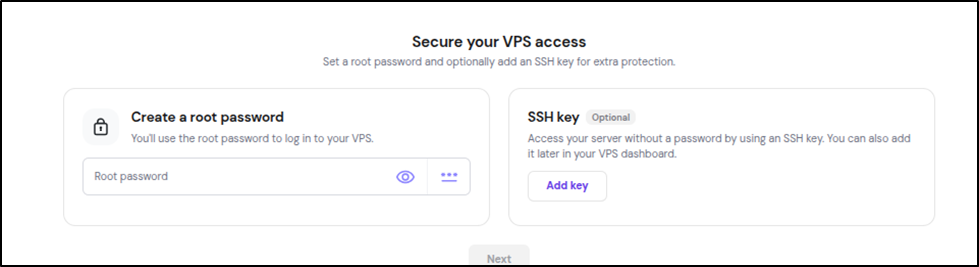
- Choose How You Want to Access Your VPS
For beginners, select Password access (easiest option).
- Review and choose any additional features you need. (Optional)

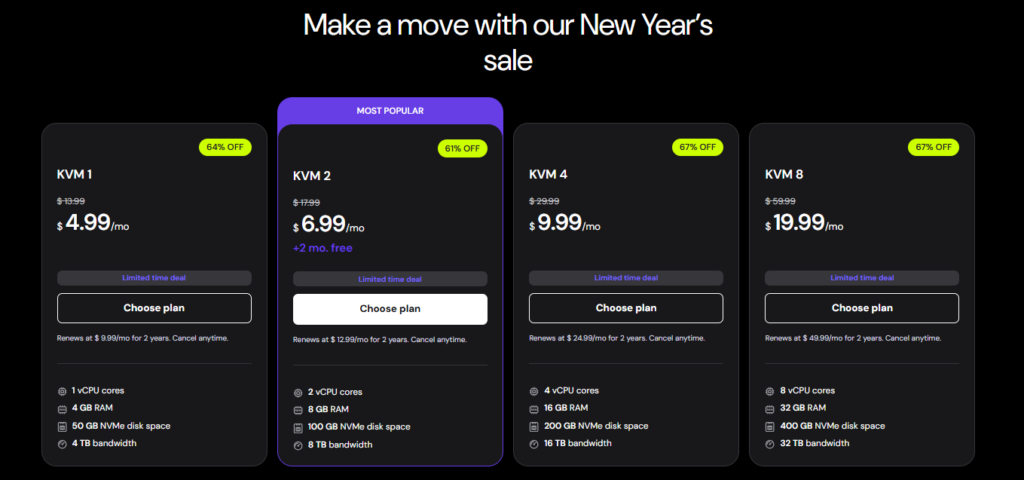
- Confirm your plan and enter payment details, then start the installation.
The installation typically takes about 10 minutes.
Access Your Odoo Instance
- Once the VPS is ready, open your browser and go to: http://YOUR_SERVER_IP:8069
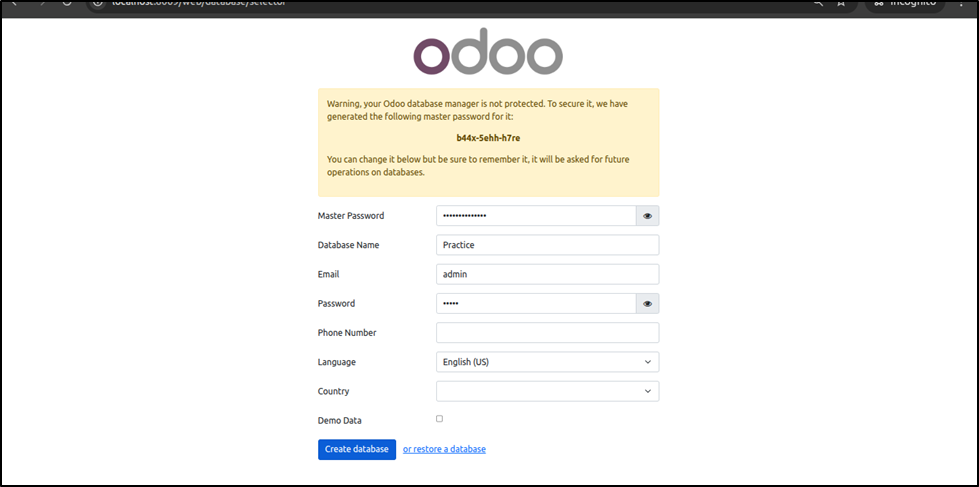
- Complete the Odoo Setup Wizard and then set your admin password.
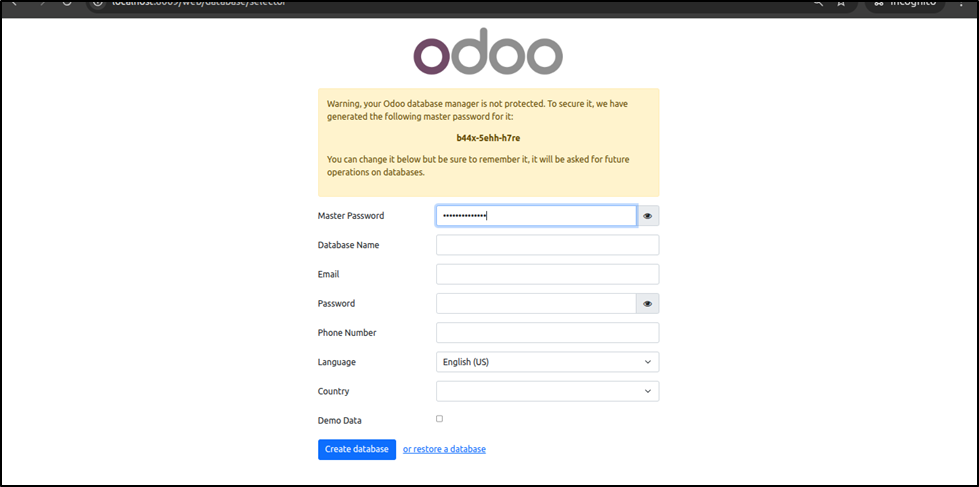
- Create a new database. Follow the on-screen instructions to finish setup.
Advantages and Limitations
Advantages:
- No command-line setup required.
- Quick and easy installation for beginners.
Limitations:
- Limited flexibility for installing custom Python libraries.
- Cannot choose a different Odoo version.
Manual installation of Odoo Hosting (for developers)
Use this method if you need full control of the Odoo source code, custom modules, or specific Odoo versions.
1. Connect to the server via SSH
ssh root@YOUR_SERVER_IP
sudo apt update && sudo apt upgrade -y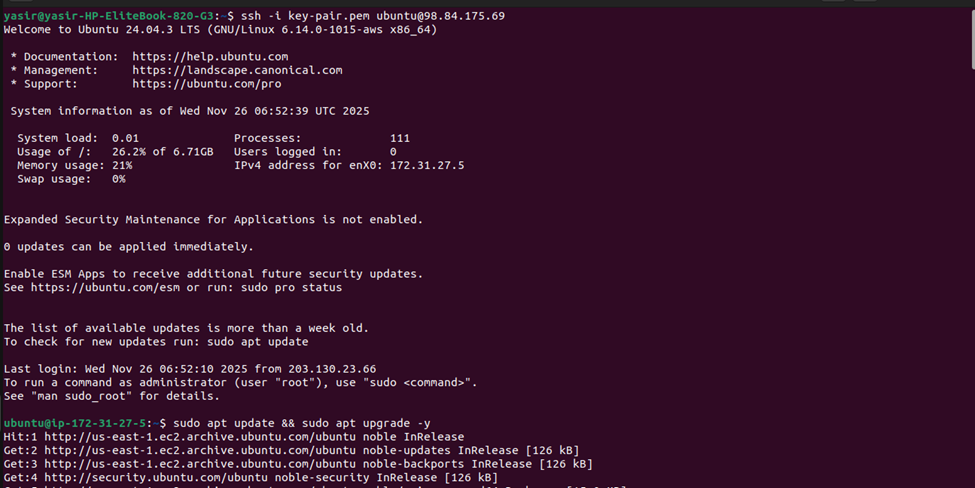
2. Install required dependencies
sudo apt install -y git python3-pip python3-venv postgresql nginx \
  build-essential libpq-dev python3-dev libldap2-dev libsasl2-dev \
  libssl-dev libxml2-dev libxslt1-dev libjpeg-dev zlib1g-dev nodejs npm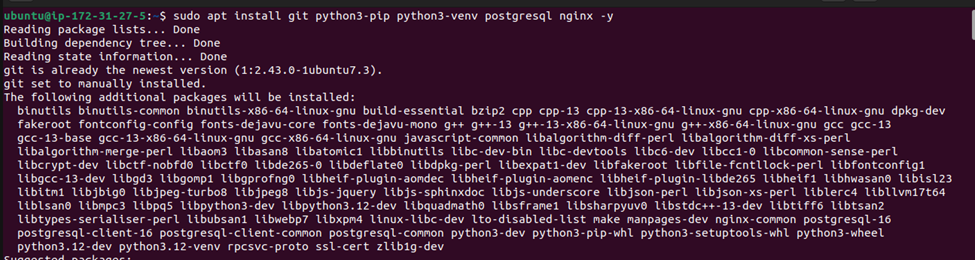
3. Create PostgreSQL user for Odoo
sudo su - postgres
createuser --createdb --username postgres --no-createrole --no-superuser odoo
exit
4. Create Odoo system user and log directory
sudo useradd -m -d /opt/odoo -U -r -s /bin/bash odoo
sudo mkdir -p /var/log/odoo
sudo chown -R odoo:odoo /var/log/odoo
5. Download and install Odoo
$  cd /opt
$  sudo rm -r odoo
$  sudo git clone https://github.com/odoo/odoo --depth 1 --branch 17.0 odoo
cd /opt
sudo rm -r odoo
sudo git clone https://github.com/odoo/odoo --depth 1 --branch 17.0 odoo
cd odoo
sudo python3 -m venv odoo-venv
source odoo-venv/bin/activate
pip install wheel setuptools psycopg2-binary
pip install -r requirements.txt
deactivate
6. Configure Odoo
Create the main configuration file:
$ sudo nano /etc/odoo.confAdd:
[options]
addons_path = /opt/odoo/addons
admin_passwd = YourMasterPassword
db_user = odoo
logfile = /var/log/odoo/odoo.log
7. Create systemd service
sudo nano /etc/systemd/system/odoo.service
Add:
[Unit]
Description=Odoo Service
After=postgresql.service

[Service]
User=odoo
Group=odoo
ExecStart=/opt/odoo/odoo-venv/bin/python3 /opt/odoo/odoo-bin -c /etc/odoo.conf
Restart=always

[Install]
WantedBy=multi-user.target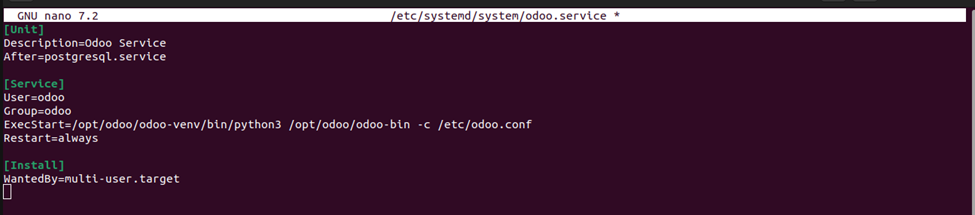
Then enable and start the service:
sudo systemctl daemon-reload
sudo systemctl enable --now odoo
sudo systemctl status odoo
Now open http://YOUR_SERVER_IP:8069 in a browser to confirm Odoo is running, then complete the setup wizard.
Fixing “Internal Server Error” (permissions)
If you see an “Internal Server Error” when opening Odoo, it often means Odoo cannot create the required session or log files because of a permissions issue.
Confirm that /var/log/odoo is owned by the odoo user and group, and restart the service after fixing permissions

Domain and SSL setup
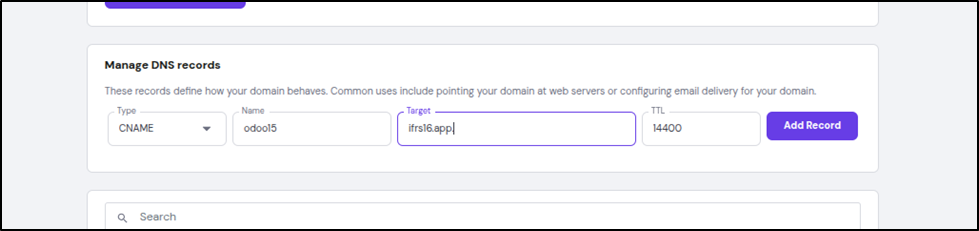
1. Point your domain to the VPS
In Hostinger DNS, add an A‑record pointing your domain (for example, yourdomain.com) to your VPS IP.
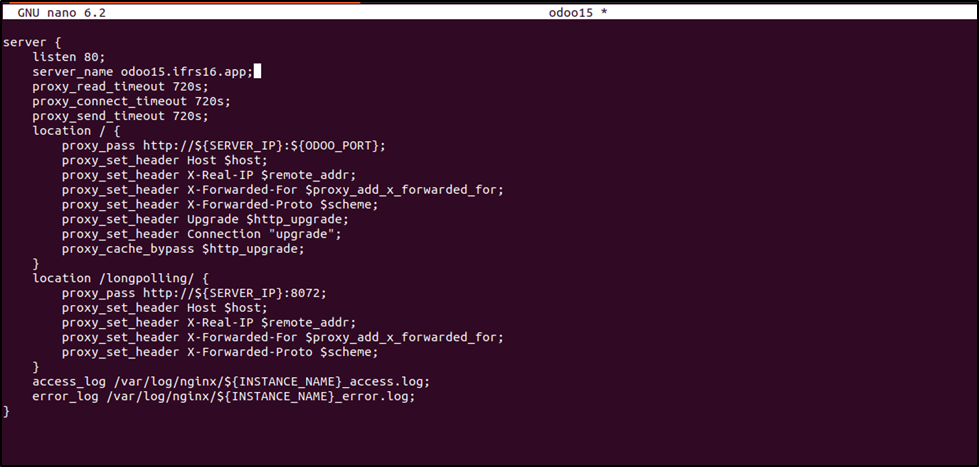
2. Install Nginx and Let’s Encrypt SSL
Run:
sudo apt install certbot python3-certbot-nginx -y
sudo certbot --nginx -d yourdomain.com
Once Certbot completes, your Odoo instance will be accessible securely over HTTPS at https://yourdomain.com.
Post‑installation configuration
Once Odoo is live, use these steps to polish your environment and get it ready for production.
1. Point Domain to Server
Add an A record in Hostinger DNS to your VPS IP.
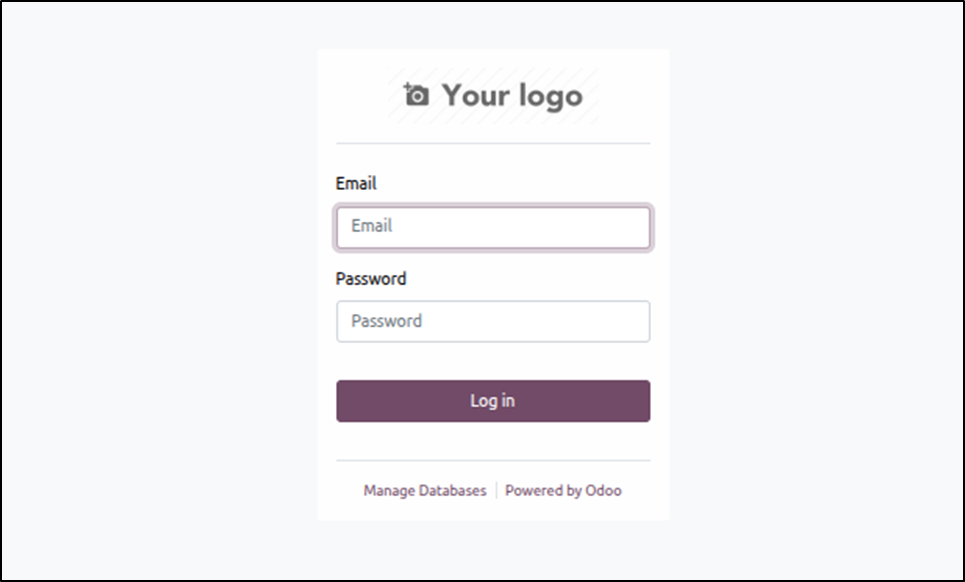
2. Access Odoo Interface
Visit https://yourdomain.com → set up database, company, and apps.
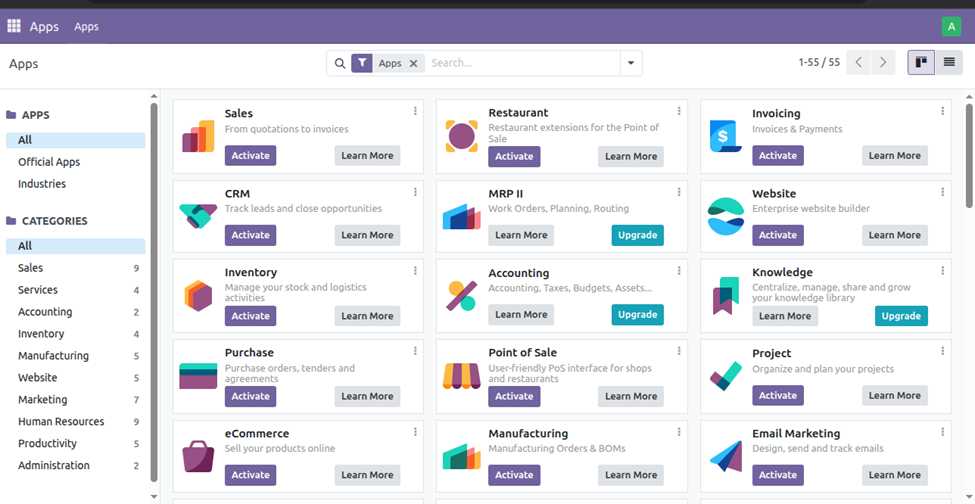
3. Install Core Modules
From Apps: CRM, Sales, Inventory, Accounting, etc.
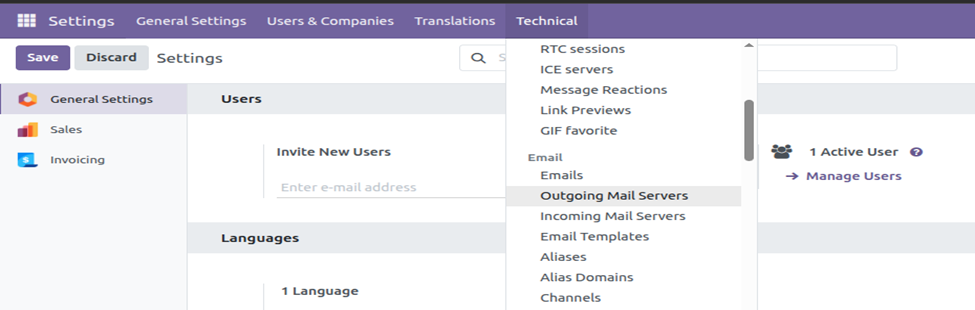
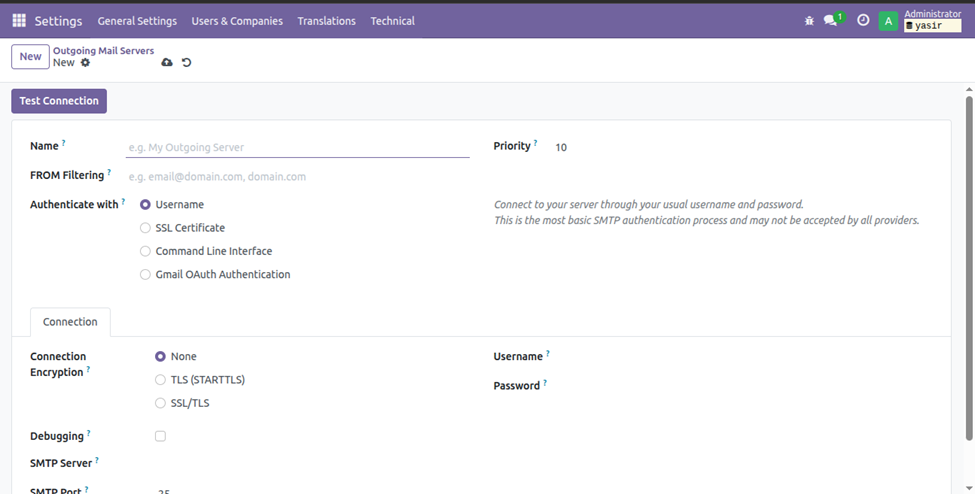
4. Configure Email
Add outgoing SMTP under Settings → General Settings → Email.
Click Setting
Click Activate the developer mode
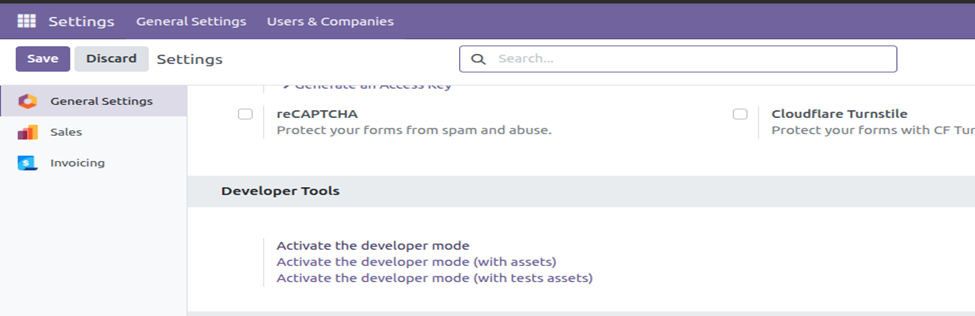
Now you see the option technical in navbar
5. Set Backups
Enable Hostinger VPS snapshots and schedule daily PostgreSQL dumps:
pg_dump odoo_db > /backup/odoo_$(date +%F).sqlConclusion
Hosting Odoo on Hostinger becomes straightforward once you choose the right KVM VPS plan, decide between the quick Odoo template or full manual installation, and complete the basic setup of your database and apps. By adding a domain, securing access with Nginx and Let’s Encrypt SSL, and configuring email, backups, and (optionally) developer mode, you end up with a secure, production‑ready Odoo environment tailored to your business needs.